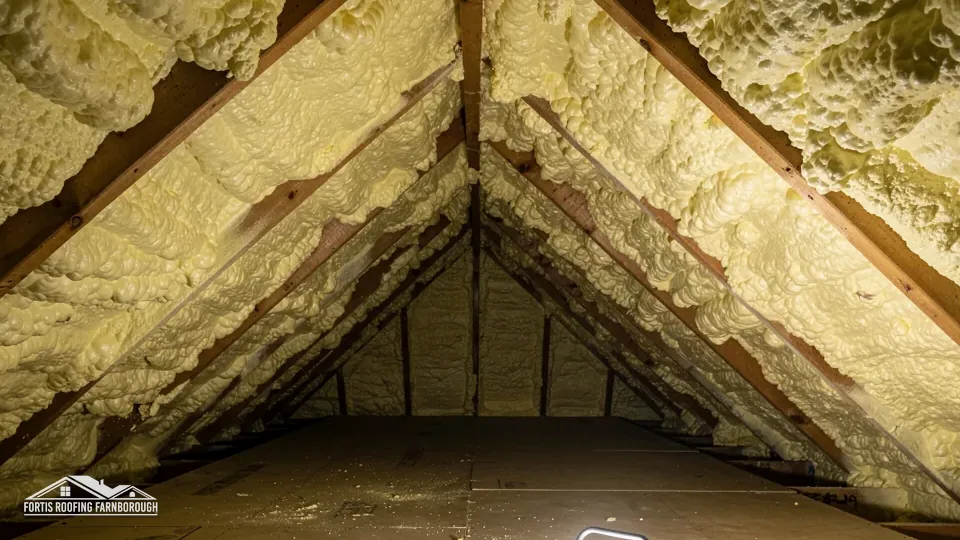
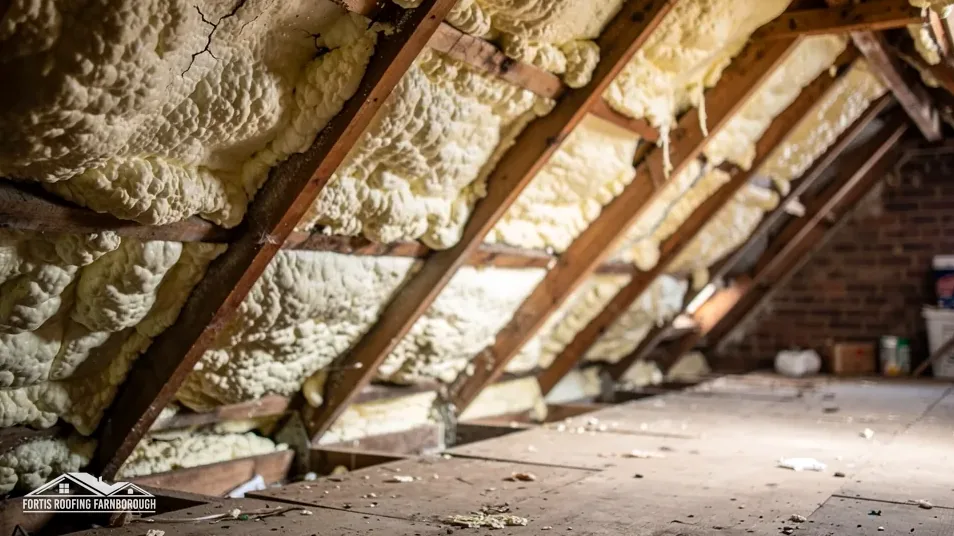
Taking spray foam out of a roof solves one problem and creates a documentation question. A surveyor who visits later sees a roof with new insulation, clean timbers and no foam. They cannot see what the roof looked like before, what the timbers were like under the foam, what was found and what was repaired. Unless someone recorded it, that history is gone.
A good report fills the gap. It tells the story of the roof in order: what was there, what was taken off, what the exposed timbers showed, what was done about it and what is there now. It is not a guarantee of anything, least of all a mortgage, but it gives a surveyor or lender facts to work from.
Below: what the report should contain, which photographs are worth taking, how timber condition and moisture readings are recorded, which repairs and certificates belong in the file, how to hand it over and what a report cannot do.
Why the record matters
A report earns its place because of what it answers. The questions come from surveyors, buyers and lenders, and they are predictable.
The questions
- What type of foam was in the roof, and how much?
- Who installed it, when and with what paperwork?
- What did the timbers look like once the foam was off?
- Was there any rot, damp or damage, and what was done?
- What insulation and ventilation are there now?
- Who did the work, and what certificates exist?
The problem with memory
Spoken accounts fade. A seller who says the roof was fine when the foam came out is making a statement that a buyer cannot check. A dated photograph of the rafters, with a ruler or marker in the frame, can be checked at a glance.
What RICS says
The RICS consumer guide makes the point that surveyors cannot fully inspect foam-covered timber. A record of the timbers after removal answers exactly that concern, since it shows what lay underneath.
Keeping it up to date
If anything changes later, such as a further repair, new insulation or a leak, add a dated note and photographs to the file. A record that follows the roof's history is easier to trust than one that stops at the day of removal.
Different readers
The report has to work for a surveyor looking at structure, a buyer wanting reassurance and a lender checking its policy. Plain language, clear sections and good photographs serve all three. Our guide to selling a house with spray foam covers how it fits a sale.
The cost of a gap
When the record is thin, a buyer's surveyor may ask for the roof to be opened again, or may mark the timbers as unseen. Either costs time and sometimes money. A record made at the right moment, when the timbers are bare and nothing else has been done, is far cheaper than a reconstruction later.
Photographs: what to take and how
Photographs are the heart of the record. A few simple rules make them useful.
Before removal
- The foam on each slope, from a standard distance, with its extent clear.
- Close views showing thickness, taken with a ruler or tape in frame.
- The loft hatch and access route, showing starting conditions.
- Any stains, drips or damp marks visible on or near the foam.
- The roof covering from outside, so tiles and slopes can be matched to the inside views.
During removal
- Examples of the foam coming off, showing how it bonds.
- Any sign of damage that appears as the foam is freed.
After removal, before re-insulation
- Each rafter bay, taken in sequence along the roof.
- Close views of any rot, staining, splits or beetle holes, with a scale.
- Wall plates and eaves.
- The underlay from the inside, including tears or repairs.
- Flashing and chimney details visible from the loft.
After re-insulation
The finished layer, with a depth marker visible, the eaves ventilation path and the sealed hatch.
Video as a supplement
A short video walk along the rafters, with a spoken note of the location, can add context to the stills. It does not replace labelled photographs, which are easier to cite and compare, but it helps a reader understand the layout of the roof space and the scale of what they are looking at.
Good practice
Photographs are dated and labelled with the location, such as north slope, third bay from the gable. A plan of the roof with numbered positions makes the set easy to follow.
Timber notes and moisture readings
Photographs show what can be seen. Notes and readings add what cannot.
Timber condition
A surveyor or roofer records for each part of the structure whether the timber is sound, stained, soft, split or affected by beetle. Notes say where, how much and how bad. A table by bay or slope is easier to read than a paragraph.
Moisture readings
A moisture meter gives a number for dampness in timber. Readings come from a spread of places, the coldest areas, rafter ends and the ground near any flashing or valley among them, and each is logged with the date and weather. A single reading means little; a spread of them shows a pattern.
What the numbers mean
The surveyor interprets them against the timber and the conditions. High readings near a leak point to a cause to fix. Low, even readings across the roof suggest the timbers were dry. The report should say what the readings mean in plain terms and what follow-up was done.
Tracing causes
If dampness is found, the report records the likely source, such as a failed flashing, a cracked tile or condensation, and what was done. Our guide to whether spray foam can damage roof timbers explains the risk.
Who prepares it
The most credible report comes from someone independent of the foam installer, either a surveyor or the contractor who removed the foam and inspected the timbers. The author should sign and date it and state their role. A report written by an owner is still worth having, but a professional one carries more weight with a lender.
Limits
Where something could not be seen or reached, the report says so. An honest limit is more useful than a claim of completeness.
Repairs, insulation and certificates
The report is also the place for what was done after the foam came off.
Repairs
Each repair is listed with location, work and materials: timber replaced, underlay renewed, tiles swapped, flashings reset. Photographs of the repair, before and after, are attached. A buyer can then see that a problem was found and dealt with.
The new insulation
The report names the product, the thickness and the build-up, with the data sheet attached. It records the target U-value and the ventilation: eaves openings, ridge vents if any, and the sealing of the hatch and ceiling. For an HR (non-breathable) underlay, Marley's BS 5250 guidance asks for 25 mm of eaves ventilation up to a 15° pitch and 10 mm above, so the opening achieved is worth recording.
Part L
New roof insulation falls under Table 4.3 of Approved Document L, which names 0.35 as the renovation threshold and 0.16 as the improved target, with a payback relaxation. The record should say how the job met the rule, or what was agreed with building control.
Certificates and approvals
Any building control completion certificate, notice or approval goes in the file. For Rushmoor addresses, the Hart and Rushmoor Building Control Partnership is on 01252 398715. Our guide to re-insulating after spray foam removal explains the design.
Waste
Record how the removed foam left the site, with the carrier's details if provided.
Handing it to a surveyor or lender
A report is only useful if it reaches the right person in the right form.
A tidy pack
Combine the report, the numbered photographs, the moisture readings, the data sheets and the certificates into one document, in the order of the story. A cover page should state the address, the dates and who prepared it. Digital and printed copies are both worth having.
For a buyer's surveyor
Hand the pack to your solicitor at the start, so the buyer's side has it before their survey. A surveyor who has seen the evidence in advance can write about the roof with confidence, and a surveyor who has not may mark it as unseen.
For a lender
RICS directs owners to their mortgage provider on spray foam, and every lender has its own policy. A lender may ask for an inspection report, a statement that the foam has been removed and evidence of the timbers. Ask the lender what it needs, and tailor the pack. No report can guarantee that a lender will lend, and none should be presented as if it can.
For your own records
Keep a copy with the deeds. A future owner, or you yourself years later, will want to know what was found and when.
Our report
Our spray foam removal work ends with a written report and numbered photographs as standard, and one written total covers the job.
A sample outline for the report
A report need not be long, but it helps to follow a fixed order so readers know where to look. This outline suits a typical job.
1. Summary
One page: address, date, findings, work carried out and the roof's present state, in plain words.
2. The original installation
The type of foam if known, the area covered, the thickness, the installer and the date, with copies of any paperwork.
3. Condition before removal
Photographs of the foam, any visible stains or leaks, and the access.
4. Removal
The method used, the dates, how waste was handled and any damage caused or found during the work.
5. Timbers and underlay
The bay-by-bay notes, photographs and moisture readings.
6. Repairs
What was repaired, how and with what, with before and after pictures.
7. New insulation and ventilation
The product, thickness, U-value, eaves and ridge ventilation and the sealing of the hatch, with data sheets.
8. Approvals and certificates
Any building control documents, with the contact details of the body involved.
9. Limits and recommendations
What could not be seen, any monitoring advised and any follow-up work suggested.
Common gaps are missing dates, photographs with no location and readings with no explanation. A report that avoids those is already stronger than most.