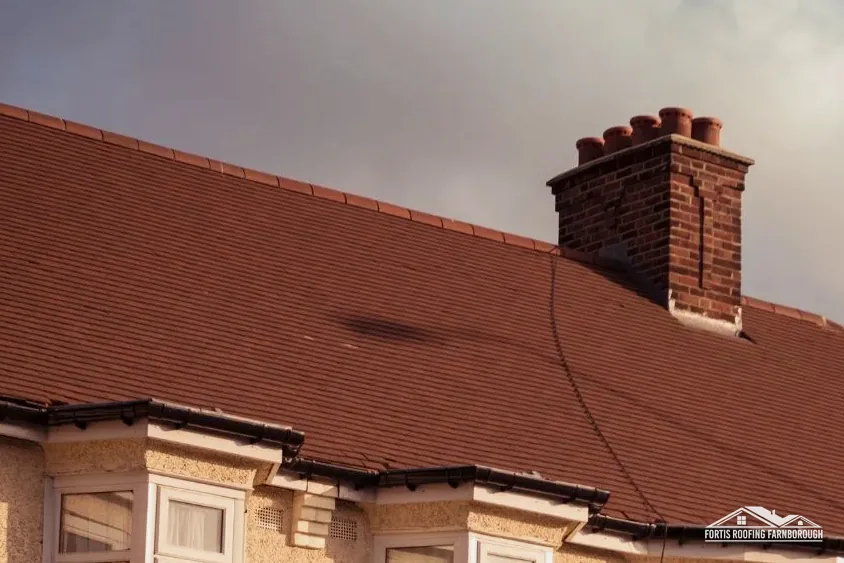
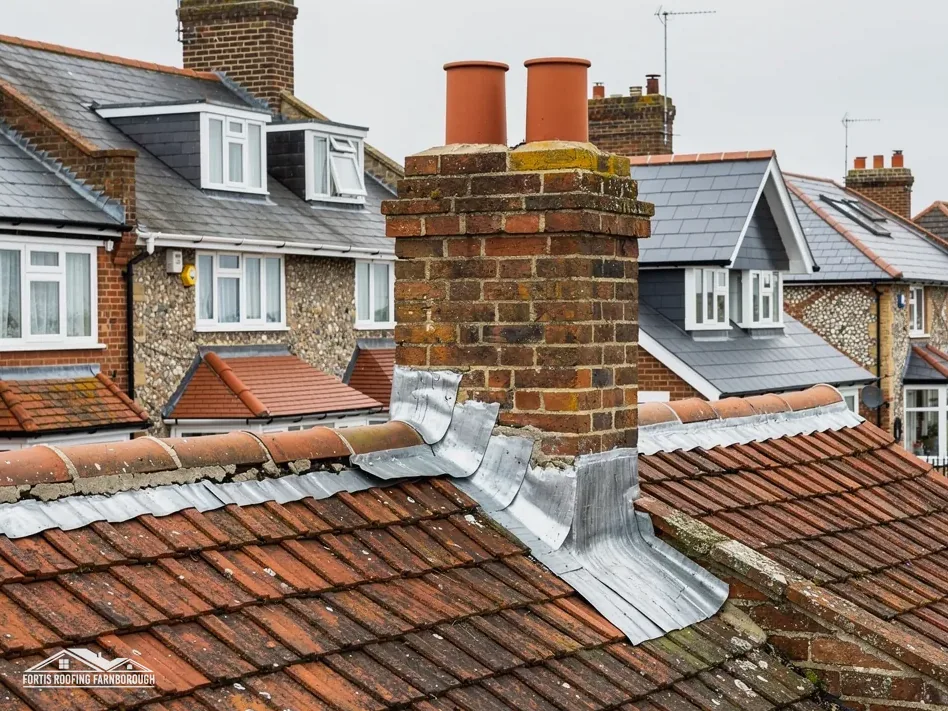
Pointing is the visible face of the mortar between the bricks. Repointing means raking out the worn mortar to a set depth and filling the joints again with fresh mortar, finished to match. On a chimney stack, it is one of the commonest repairs, because the stack stands in the weather on all four faces.
The mortar is meant to wear before the brick does. It is a sacrificial layer, and over decades it erodes, cracks and recedes. When the joints are hollow or missing, rain reaches the bricks, the stack loosens and the damp creeps into the breast inside the house. Repointing restores the joint at a stage when the repair is still modest.
This guide explains how frost and rain break mortar down, what the signs look like from the ground and the roof, how the replacement mortar should be chosen, what the work involves and what decides the cost. Repointing is priced after the survey, because the real figure turns on your own stack. Below we describe what moves the price, and the written quote fixes it.
What repointing means on a stack
A brick stack is a column of bricks bonded with mortar. The joints between them are narrow, but they make up a significant share of the surface and they do most of the work of keeping water out of the middle of the stack.
The process in outline
The old mortar is cut out to a depth of about twice the width of the joint, using hand tools or a careful grinder, without chipping the brick edges. The joints are brushed clean and dampened. New mortar is pressed in and tooled to a profile that matches the surrounding work, whether flush, recessed or weathered.
Why only the damaged joints may be touched
If the mortar is sound in places, there is no need to disturb it. A good repointer works through the stack and replaces what has failed, taking care that new and old match in colour and texture. A stack repointed from top to bottom when only the top is poor is an unnecessary cost.
Pointing against rendering and repair
Pointing is not the same as flaunching, which is the mortar at the top that holds the pots, and it is not the same as the lead flashing at the base. A stack can need any one of these three, or all of them. Our guide to chimney flaunching repair covers the top, and the survey looks at each.
When the brick is the problem
New mortar between crumbling bricks does not last. If the brick faces are failing, replacing individual bricks or rebuilding is the answer, and we tell you at the survey which case you are in.
How frost and rain wear the joints away
Mortar is hard but porous. Water is the main cause of its decline, in more than one way.
Wetting and drying
A stack is wetted by every shower and dried by the wind and sun. Each cycle moves water in and out of the joints, carrying small amounts of the binder with it. Over many years, the surface softens and recedes.
Freeze and thaw
Water inside the mortar expands when it freezes and pushes the surface apart. The Met Office climate station at South Farnborough shows annual rainfall of about 715 mm over 118 days of 1 mm or more, with around 53 days of air frost, on 1991 to 2020 averages. Those are figures for one station, and not a forecast. They describe a place where a stack top is wet often and frozen on a fair number of nights, and that is the pattern that opens joints.
Exposure of the stack
Because a stack stands clear of the roof, it is wetted on all four faces, and the top courses get the most. The south and west faces may weather differently from the north, and the faces most exposed to rain often fail first.
Other causes
Acid rain, soot in the flue, plant growth and poor workmanship in the original build can all hasten the decay. A stack built with a very hard mortar over soft brick may fail through the brick instead.
A slow process
The loss of mortar is gradual, so it is easy to miss. A joint that was full a decade ago may now be recessed by a centimetre. By the time it is noticeable from below, the stack has been losing protection for a long time.
Signs the joints have gone
You can learn a good deal from the ground with a pair of binoculars, and more from the roof.
From the garden
- Joints that look dark and hollow where they should be flush.
- Mortar crumbs on the roof tiles, in the gutter or on the path.
- Bricks that look proud of the surface, as if the mortar has sunk back.
- Green or black growth on the stack, which holds water against the brick.
- Cracks running along the joints, or a stack that seems to lean.
From the loft and rooms below
Water that gets into the stack can run down inside it. Brown stains and damp on the chimney breast, wallpaper lifting, salts on the plaster and a musty smell near the fireplace all point to water entry. Our guide to the damp chimney breast explains how to separate causes.
From the roof
Close up, a roofer can see how deep the joints have receded, whether bricks are loose, and whether the fault is in one face or all four. A simple test is to press a screwdriver into the joint: sound mortar resists, and failed mortar crumbles.
Why it pays to look early
Once bricks start to loosen, the repair grows from pointing into brick replacement and possibly a rebuild. We would rather see a stack when the joints are failing than when the bricks have gone, and we photograph each face so you can see the same detail.
Spalling
Where the brick faces themselves are flaking, see our short answer on spalling chimney bricks, which sets out how to tell surface flaking from deep decay.
Choosing the mortar for the brick
The most common mistake in repointing is using the wrong mortar. It seems a small detail, and it is one of the most important.
Softer than the brick
Choose a mortar that gives way before the brick does. If it is harder, moisture can only leave the wall through the brick face, and the brick spalls. A softer mortar takes the wear in its place, which is its job. Modern cement-rich mixes are strong, and on soft old brick they can do harm.
Colour and finish
Colour comes from the sand and the binder. A grey cement mix beside old buff or red joints looks like a patch. A repointer matches the sand, tests a sample and lets it dry, since mortar changes colour as it cures. The finish should follow the original profile, not a modern one.
Old brick and lime
Many older stacks were built in a lime-based mortar. Repointing like for like keeps the wall working as it was built, and in a conservation area or on a listed house, the council may expect it. We discuss the mix at survey, especially on older properties.
Frost during curing
New mortar must not freeze before it sets. A cold snap can ruin a day's work, so we plan around the weather, and sometimes protect the work with covers.
What to steer clear of
Smearing sealant or a coat of render over failing joints is a poor answer. It hides the damage, traps moisture and makes the proper repair harder. Our chimney repairs page sets out what we recommend instead, from raking out to a full rebuild, and the survey shows which fits your stack.
How the work is done and kept tidy
Repointing a stack is slow, careful work. It begins with access, because the joints have to be reached on every face.
Access
A scaffold or tower gives a stable platform round the stack. Working from a ladder on a pitched roof is neither safe nor practical for a job that lasts hours. Access is part of what sets the cost, and we plan it before pricing.
Preparation
The mortar is raked out to the right depth, the dust brushed away, and the joints dampened so the old brick does not draw the water from the new mortar too quickly. Loose or broken bricks are replaced at this stage, bedded in matching mortar so that the new work sits flush with the old and the bond pattern carries on unbroken up the stack.
Pointing
The new mortar goes in fully, pressed back into the depth of the joint, then tooled to the chosen profile. Working from the top down stops mortar splashing onto finished work.
Combining with other repairs
The same visit is a good time to renew flaunching, replace a pot, refit a cap or re-fix flashings. The scaffold is up, the stack is open and the jobs share the access. Our guide to chimney flashing explains the lead at the base.
Clearing up
Raked-out mortar and dust go into bags and leave the site, and the roof slopes around the stack are brushed down so that nothing is left to block a gutter or slip underfoot later. Tiles and gutters below are cleared of debris, and the garden is left as we found it.
What decides the price
Chimney repointing is priced after a survey, because a stack is not a standard item and one face of a low stack is a different job from four faces of a tall one. What can be said in general is what decides the price.
The main factors
- Extent: how many faces and how many courses have failed, and how deep the joints have receded.
- Height and size: a tall, wide stack has more joints and takes longer to reach.
- Access: the scaffold or tower, and any highway licence, often make up the largest part of a stack job.
- The brick and the mortar: a careful match on old brick takes more time than a standard mix on modern brick.
- Brick repair: loose or spalled bricks that need replacing add work.
- Other repairs in the same visit: flaunching, pots and flashings share the access.
How the price is set
We survey the stack from the roof and photograph each face. You see what we saw, and the written price follows, as one total for the work we agree.
Comparing quotes
Ask each roofer what the quote covers, how deep the joints will be raked, which mortar will be used and whether scaffold is included. Two figures for the same stack are only comparable when the scope matches.
Related reading
For the wider picture of chimney costs, see our guide on what chimney repair costs, which sets national ranges for leadwork and breast removal beside the factors above.