The short answer
Lead flashing is fixed by tucking its top edge into a groove cut in the wall, called a chase, and holding it there with lead wedges. Mortar pointing then closes the groove. The lower edge rests on the roof covering and is held against the wind by clips, so the lead stays free to move. Nails through the face of the lead are not the method.
The chase and the wedge
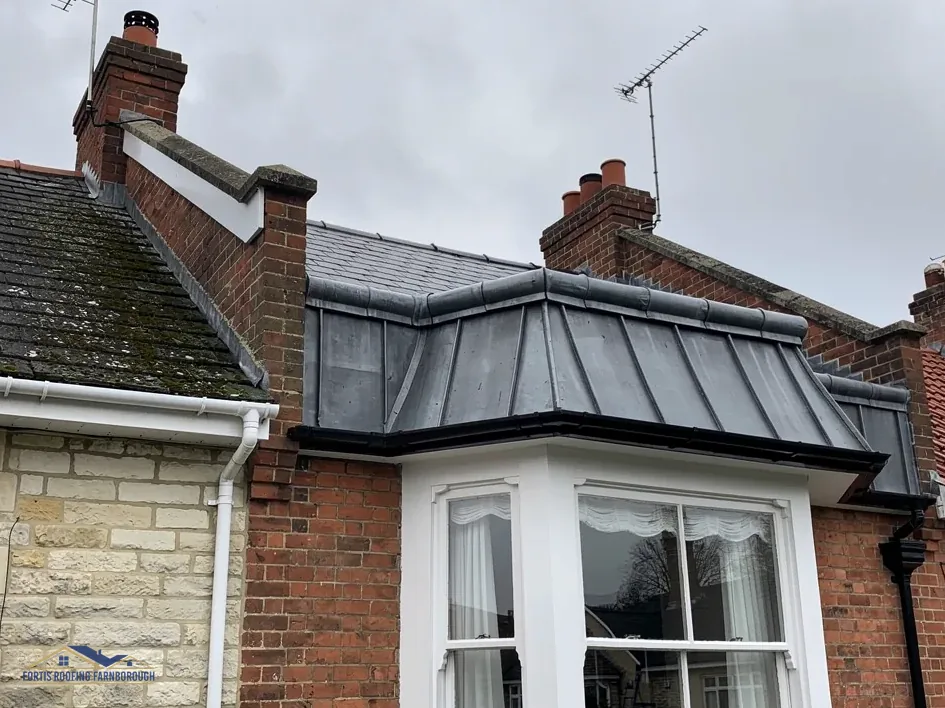
At a wall, the top of the lead goes into a chase: a straight groove cut into the brickwork, usually along a mortar joint, so the metal sits inside the wall rather than against its face. Water running down the brick meets the lead and drops onto the roof instead of finding the gap behind it.
A strip of lead alone will not stay in a groove. It is held with wedges, small folded pieces of lead tapped into the chase at intervals along its length. They grip the flashing against the top of the groove and keep it from sagging forward.
Fixing flashing with nails or screws through the face of the sheet is the weak option. Lead moves as it warms and cools, and a nail through the middle leaves a hole where the lead tears as it tries to slide.
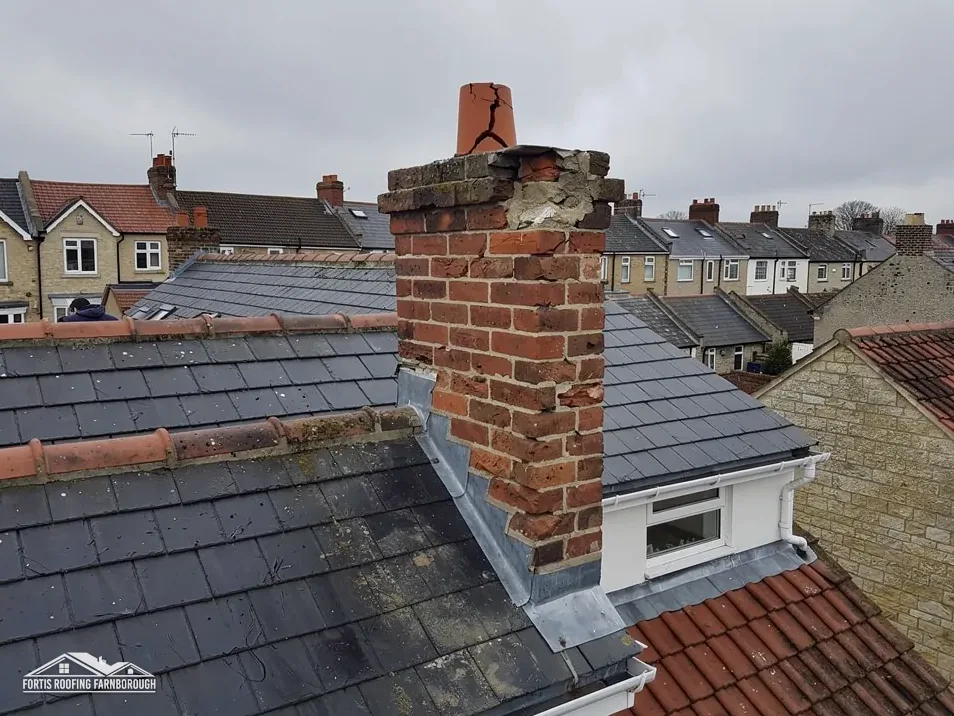
Crumbling mortar will not hold a wedge, so on an older wall the joint is often raked out and re-made before any lead goes in. Our page on lead flashing coming away from the wall shows what happens when this step fails.
Clips, soakers and the lower edge
A flashing needs holding at its lower edge as well. Wind can lift lead that lies loose over a tile, and a lifted edge lets rain in sideways. The fix is a clip, a narrow strip of lead or stainless steel nailed to the roof at intervals, with its tail folded over the bottom edge of the flashing so the sheet cannot rise but can still slide.
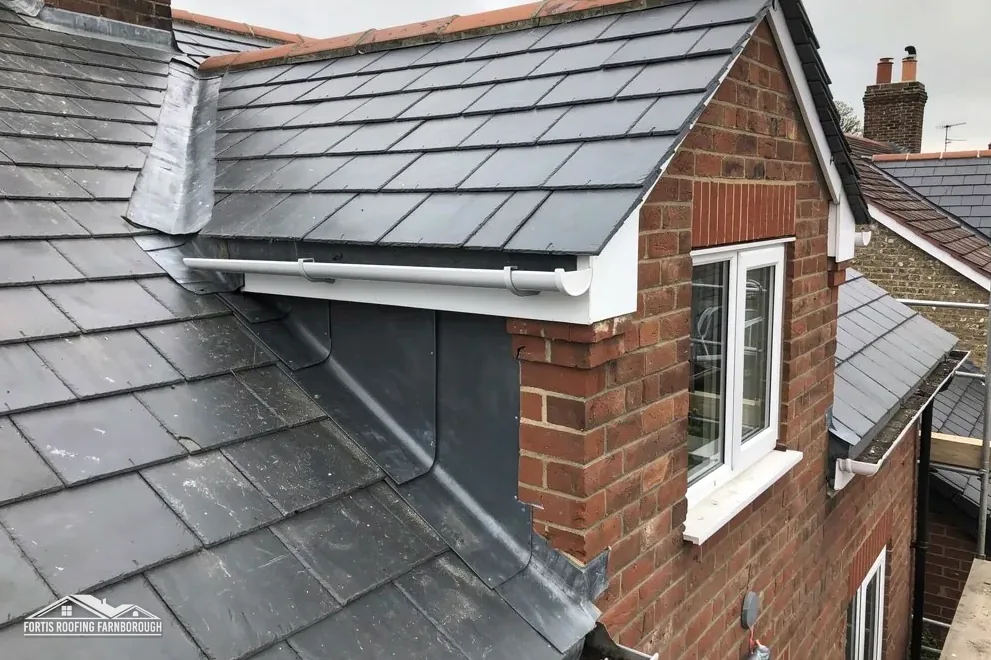
Where a roof slopes up against a wall, a stepped arrangement is used. Each course of tiles or slates gets its own soaker, a bent lead tab slid beneath the covering and turned up against the wall. Above the soakers, a cover flashing is chased into the brickwork and laid over their turned-up edges. The two layers overlap, so water has to travel uphill to get behind them.
That pairing is why one wall can show two kinds of lead. The soakers are hidden under the tiles. The cover flashing is the visible stepped line. Stepped arrangements like this are common wherever a roof rises against a wall.
A long run is cut into overlapping sections rather than one piece, so the metal can expand along its length.
Pointing, and where sealant fits
Once the wedges are in, the chase is filled and finished. Pointing is the mortar that closes the groove, pressed in around the lead and struck flush. Its job is to keep water out of the chase and to hold the wedges where they are. It does not hold the flashing up by itself.
Mortar suits a brick wall that is sound and dry to start with. On a rendered wall the groove may need a different finish, so the roofer checks what the wall is made of first.
Sealant is a different question. A bead of sealant smeared along a gap is a repair people reach for when the pointing falls out, and it ages quicker than the metal. Our page on sealant on lead flashing sets out when it helps and when it only hides the problem.
A fixed flashing should stay quiet in the wind and show no daylight at its top edge. If you can see the lead lifting away from the brick, or mortar sitting loose in the chase, the fixing is failing. Both are visible from a ladder or a photograph.
What we show you at the survey
Fixing cannot be read from the pavement, so we photograph the flashing close up. You see the chase, the wedges where they are visible, the condition of the pointing and whether the clips are still there at the lower edge.
We also tell you which of three jobs the flashing needs: re-pointing the chase and leaving the lead alone, a repair to one section, or a new flashing along the whole run. A cheap re-point sometimes puts a flashing right. In other cases the lead has split along the old fixings and needs renewing, and we point to it in the photo.
The new work follows BS 6915, the lead sheet standard that Approved Document C points to. The lead roofing hub and our lead flashing repair page cover the choice between patching and replacing.
The written quote is a single total, and the roof is left tidy, with the waste taken away. We work across Farnborough, Camberley, Fleet and the villages around them, and the method does not change from one address to the next. What changes is the state of the wall and the lead that is already on it.